Showing posts with label home projects. Show all posts

Saturday, November 19, 2011

Drastic Change

As mentioned in my last few posts, we have been in the throes of home improvement.  My wood floors were officially finished on November 8 but it has taken this long for some of the dust (and mental fog) to clear so that I can post a few pics.

Let me preface by saying that I have been saving for new floors for four long years.  You know how you have a vision of what something is going to look like and then the reality doesn't quite match?  That's kinda where I am.  I love the variable width of the planks and the true handscraping of the boards.  The wood tone, though, is different than what I was envisioning.  We went with engineered so couldn't customize, but I knew I didn't want espresso or chocolate brown because it would be too dark for me.  The stains that were lighter looked somewhat washed out.  I was going for a medium brown.  Let's just say that tears were shed and I have beat myself up a lot over the past week or so with woulda, coulda, shoulda.  Now you know why I suffer from Analysis Paralysis.

I think the shock of going from light to dark has just thrown me a little lot.  These are beautiful, rich floors!  As you can see from the Before pics, my family room was very monotone.  In that sense, I think the wood helps to warm things up.   I will need to buy some rugs (what kind??) and My Man said we can buy some new furniture pieces for the family room.  I guess I should be excited by that but I just don't want to think about it anymore right now.  I guess I don't do well with drastic change.

What do you think?


Here are some more views in other rooms.  Ignore my lack of staging because I haven't gotten anything everything back in order yet:

Master bedroom looking into foyer
Dining Room
Guest bedroom
I know in my head that I am SO BLESSED to have such a beautiful home and I refuse to let this be the winter of my discontent.  But I feel a little heartsick because I was hoping everything would look pulled together and "done" like I see every day on so many beautiful blogs.  I think I have more work to do.

For what it's worth, My Man and and children love the color!  I don't hate it, I just think everything looks so DARK now.  The gloomy weather we have been having lately hasn't helped.

Enlighten me!  Please!

Thursday, November 3, 2011

Tile Update

This is for my friend Lisa who has the flu and can't come by to see our new and improved kitchen and bath tile.  They're not the best pics because of the lighting, but you can get the idea.

20x20 inch porcelain tile - Artemis Castello Bianco
 The pictures below are probably closer to the color.  There are grey, cream and beige tones.


I am loving this lightened up look!  And the larger tiles are fabulous.  Can't wait to get back to my life, though.  We still have the wood floor installation to go (starting tomorrow).

Wish us luck!  I'm hoping to find an electrical floor outlet under the carpeting since we have such a huge den.  Wouldn't that be nice?


Monday, October 31, 2011

All Broken Up

Today is the day:


Horror of HORRORS!


Click to Play
Powered by mp3skull.com

The relentless hammer and buzz saw result in...


carnage, carnage everywhere!


I guess I found my mask for Halloween!


Saturday, October 29, 2011

Torn Apart

We're getting ready for new floors on Monday. Yay! I think.

I've been frantically trying to move crap out of the way so that the installers can move the furniture more easily without breaking anything and so that my dust cleanup will be minimized.

Emptying the pantry (new, larger porcelain tile is coming)
Better look at the Before tile (and my pantry mess)


Clearing off the bookshelves (bye-bye old carpet, hello wood floors!)
Wow.  Just wow.  Seems like my whole house is torn apart.


Unsettling doesn't begin to describe it.

Saturday, October 1, 2011

Floored

I feel guilty that I haven't posted much in the past two weeks.  My husband and I have been preoccupied because I finally decided to swallow hard and confront my latest case of Analysis Paralysis: flooring.

We currently have wall-to-wall carpet on most of the main level of our (12-year-old) home.  We have 12x12 inch tiles in the remaining "wet" areas: kitchen, laundry and baths.

When I got a part-time job about four years ago, I decided to start saving a chunk of cash every month for new flooring for our home.


I desperately wanted wood flooring to replace the carpet both because I love the look and because I much prefer the upkeep.  I also wanted to upgrade the tile in the kitchen and laundry room with a larger 18 or 20-inch square porcelain tile.  What I am aiming for here is a classic look that will last for the rest of my life, since I don't plan on moving again and I think I only have it in me to do a project of this scope once!

About a year and a half ago, I was ready to move forward.   Unfortunately, around the same time, my husband lost his job.  We had five months of economic uncertainty, so we put the project on hold.


Good thing, because now that I have gotten detailed estimates and compared them with our guess-timates, I realize that I wouldn't have had enough money back then to do the entire project.


Part I of the process is to choose the hardwood floor.  Neither my husband nor I has the stomach for the multi-step process of living through solid, nail-down hardwoods installation.

SOURCE
Solid hardwoods are absolutely beautiful floors, but they're not worth the anxiety and chaos and dust that would be created in my household.  Kudos to you if you can weather the dust storm, but I just can't.

So we have settled on engineered wood floors.  Engineered wood flooring is comprised of multiple layers of wood in the form of a plank. The top layer is the wood that is visible when the flooring is installed, and is adhered to a plywood core (or substrate) which provides the stability.

SOURCE
My husband is a mechanical engineer and is absolutely convinced that engineered floors are superior to solid floors for our application in that they are (1) structurally stable and better for use over concrete (our house is built on a slab) and (2) coated with both stain and aluminum oxide finish coats (up to 8) that are factory applied and very hard and durable.  Besides that, he absolutely hates the height differential between tile and solid wood floors because there is probably a 1-inch difference that must be "bridged" with reducers.

Neither of us loves the hand-scraped look, mostly because a lot of the stuff out there is actually machine scraped and has a predictable lined appearance.  But we do like the fact that handscraping camouflages  inevitable scrapes and scratches.

We found a flooring line called Bella Cera Amalfi Coast (in some areas, it's known as Southern Traditions) that has a very subtle handscraping.  We're going with a random width configuration of 4, 6, and 8 inch Hickory planks.  We have decided on the color Deruta which is a warm medium brown.

Bella Cera Amalfi Coast

Next we need to decide on a tile.   My goal is to get this thing done before October is over!  Stay tuned!


Friday, August 12, 2011

Party Central

I have a beautiful armoire in my foyer that I bought over a dozen years ago, before the rise of flat-screen TV's.  This piece was purchased to hold a large, deep and heavy TV.  It wasn't built to be an entertainment center per se' but instead has long, undivided shelves similar to what you would see on an antique armoire.


We've moved since purchasing this piece, and we have built-ins in our living area that hold our flat-screen TV.  This armoire has had a bit of an identity crisis ever since and has become a dumping ground for miscellaneous "stuff."  And getting to that "stuff" is no fun.


It occurred to me recently when I was looking at my multiple piles of "stuff" that this armoire would be a good place to store anything and everything related to entertaining:  candlesticks and candles, paper goods, table linens, wrapping paper, bows, and ribbon.  I had these items scattered in several different areas; it always frazzles me when I host (or attend!) a party because I  have to scrounge through the house looking for what I need.  Then it's the Stressed Nest, not the Blest Nest!

SOURCE
I thought about hiring a carpenter to build some drawers or put some dividers into this piece, but I knew that would be pricey.  It wasn't worth it to me to incur that expense.  I knew that drawers would be the most useful so that I wouldn't have to load and unload bins from the shelves, looking for what I want.  Been there, done that.  So I went to Walmart and found these cool modular storage units from Sterilite that fit the bill perfectly!


There are narrow, medium and large drawers that can be configured in a number of combinations to suit whatever application you have.  I bought 2 large tall drawers, 2 medium tall drawers, and 3 narrow drawers.  Total cost was about $75, but they fit just perfectly on the top shelf of my armoire and have added so much functionality!

I loaded up my candles and candlesticks in the large drawers.  (I think I may be a candle hoarder.)


Tissue paper, bows, ribbon, tags, tape and scissors are stashed in the medium and small drawers so that it is easy to wrap an impromptu gift.


On the second shelf, I have table linens galore (napkins, tablecloths, and placements).  Now I need to have a dinner party!


On the bottom shelf are two file boxes (also Sterilite--I should own stock in this company!) and a large basket which holds disposable paper and plastic ware for parties.


  I also have a long plastic box that holds rolls of gift wrap and gift bags.


 Here is the finished result. 


It feels so much better to get at least one area under control!   One down, about ninety-nine more to go.

Linking to:


Sunday, July 3, 2011

Bathroom Reveal!!

I didn't anticipate that my little Spring Break project would literally take the entire season to complete.  Wow, this face lift seemed to drag on and on.  But I finally have a reveal!  Disclaimer:  I have a point-and-shoot camera and this is a windowless room, so I did my best with the "long" shots.

Here is what our bathroom looked like BEFORE.  It wasn't a bad space but the wallpaper was not my taste or color preference, and the room felt dark and dreary.

 
Bright brass fixtures and paper bag brown wallpaper

Builder mirror and strip lighting

Chippy cabinets, and not in a good way
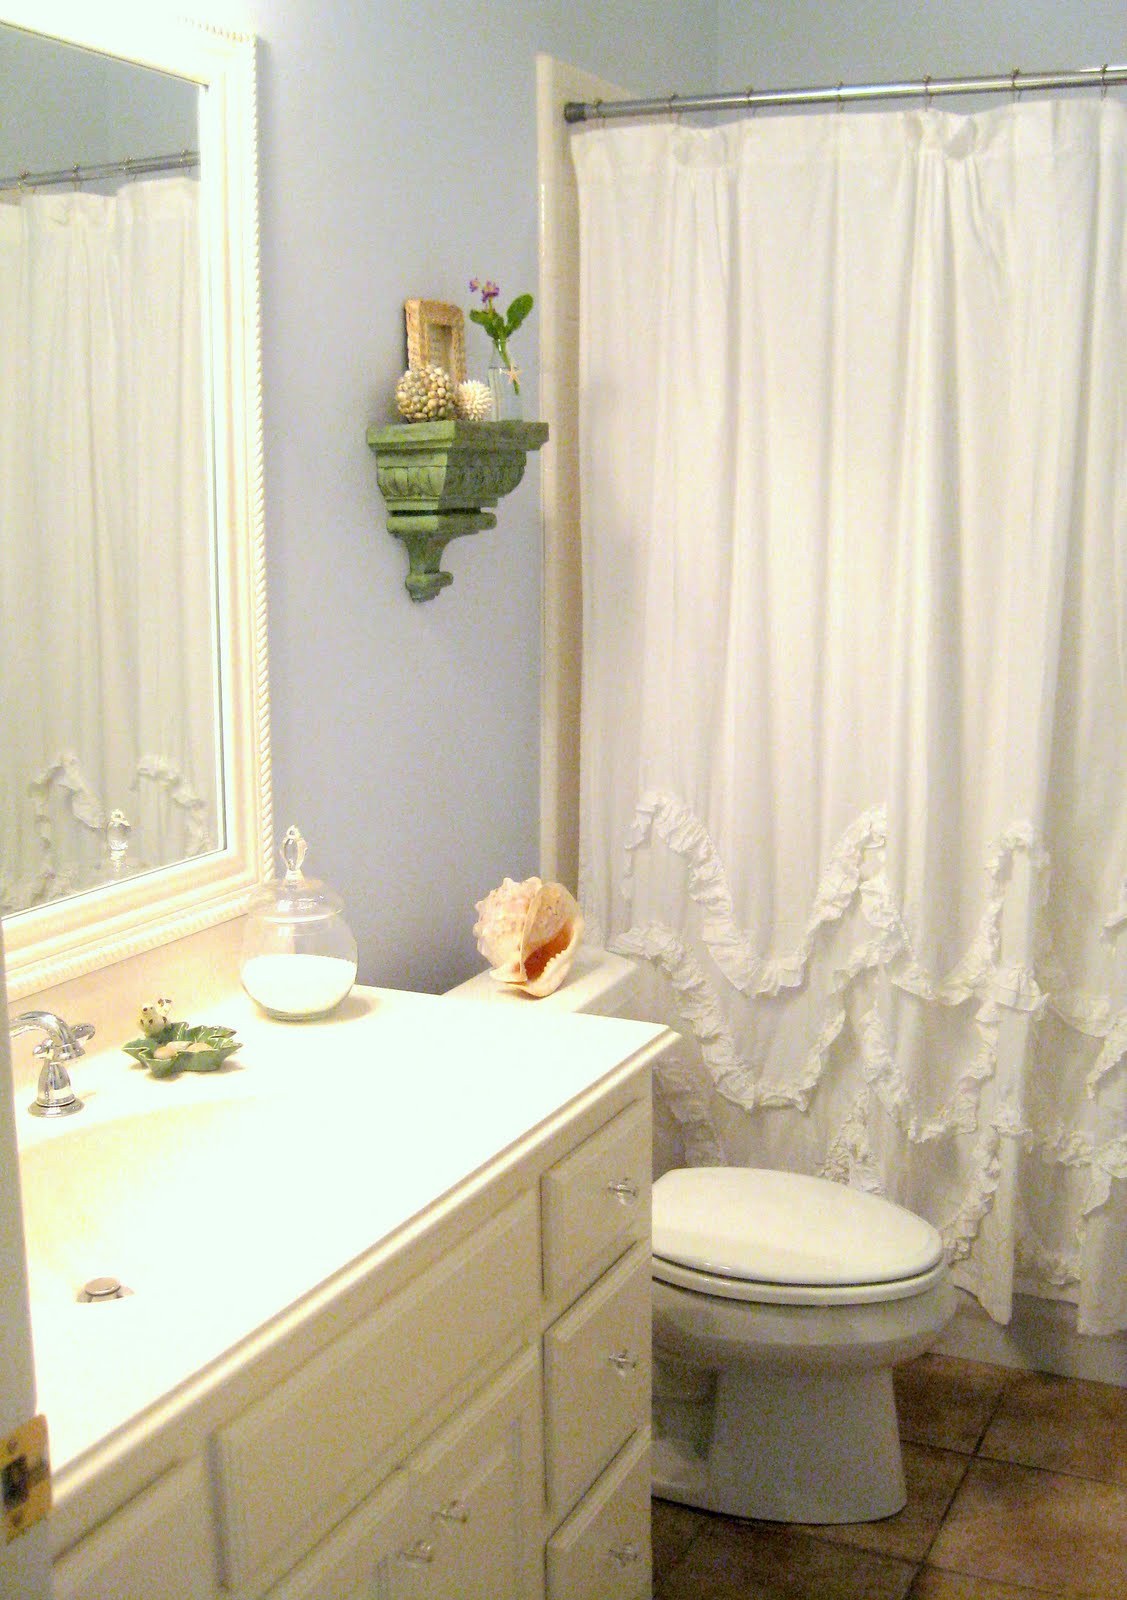
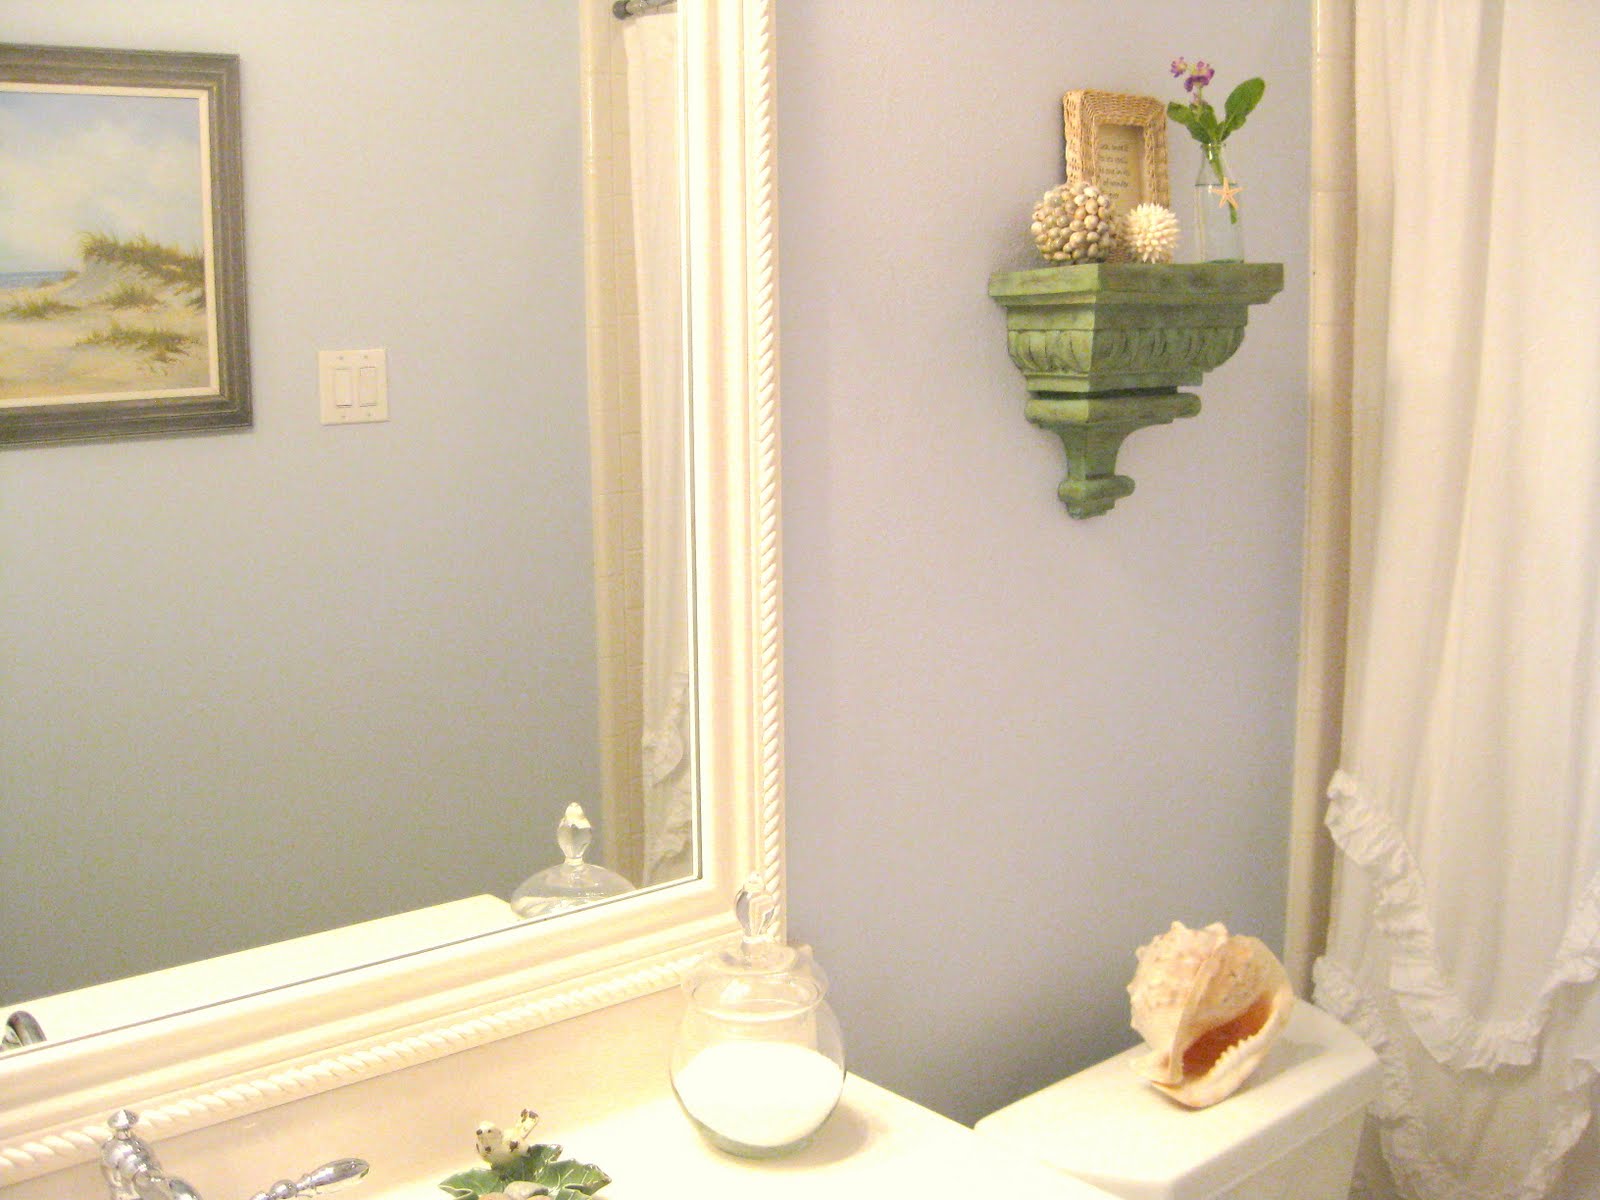
Here is our main bathroom AFTER!  Light, bright, airy and soothing!


We framed out the builder mirror


Delta Victorian faucets


Anthropologie "Waves" shower curtain = Splurge
Check out this link if you're sewing inclined

pleat detail


Notice the rope trim on the mirror, a nod to the nautical


Blue-tiful color!
("Paleness" by Kwal Paint)

Cost Breakdown:

  • $ 25  Glass knobs (E-Bay)                            
  • $ 65  Primer, paint and spray texture             
  • $ 40  Molding for mirror                              
  • $100 Anthropologie shower curtain            
  • $334 Faucets for tub/shower and sink         
  • $100 Light fixture                                       
  • $ 24  New toilet seat (how glam)                 
  • $   0  All decorative accessories (shopped the house)
  • $688 GRAND TOTAL                 
We got about $450 from Amex and Discover Cashback Bonuses this year which we used towards this project, so total out-of-pocket was $238.

Labor Breakdown:

Vicki V:
  • stripped the wallpaper
  • primed and painted all surfaces (walls, trim, cabinetry, mirror molding)
  • added the decorative details
My Man:
  • patched and textured the walls
  • installed faucets and fixtures
  • cut and installed the mirror molding (used tutorials here and here)
  • caulked
 We think it's like a breath of fresh air (very Spahhhh) and love it!

Linking to: