Sunday, December 19, 2010

My Signature Chocolate Mint Brownies

Recipes are a living, breathing thing.  These chocolate mint bars were made by both my mom and my mother-in-law in the 1970s.   They lived a thousand miles apart but their recipes were almost identical.


Now, almost 40 years later, the recipe is still going strong but has evolved.  I am still using the basic recipe but have tweaked it to make it my own: more chocolately and less sweet.  These are my signature Christmas bar; people go crazy for them.  I had someone hunt me down after they tried one at a teachers' appreciation event .  I think that the creamy, cool peppermint buttercream frosting topped by crunchy candy-cane bits (my addition for Christmas) and a bitter chocolate glaze is perfect for the winter holidays.

Chocolate Mint Bars
(click here to print recipe)

Brownie Base

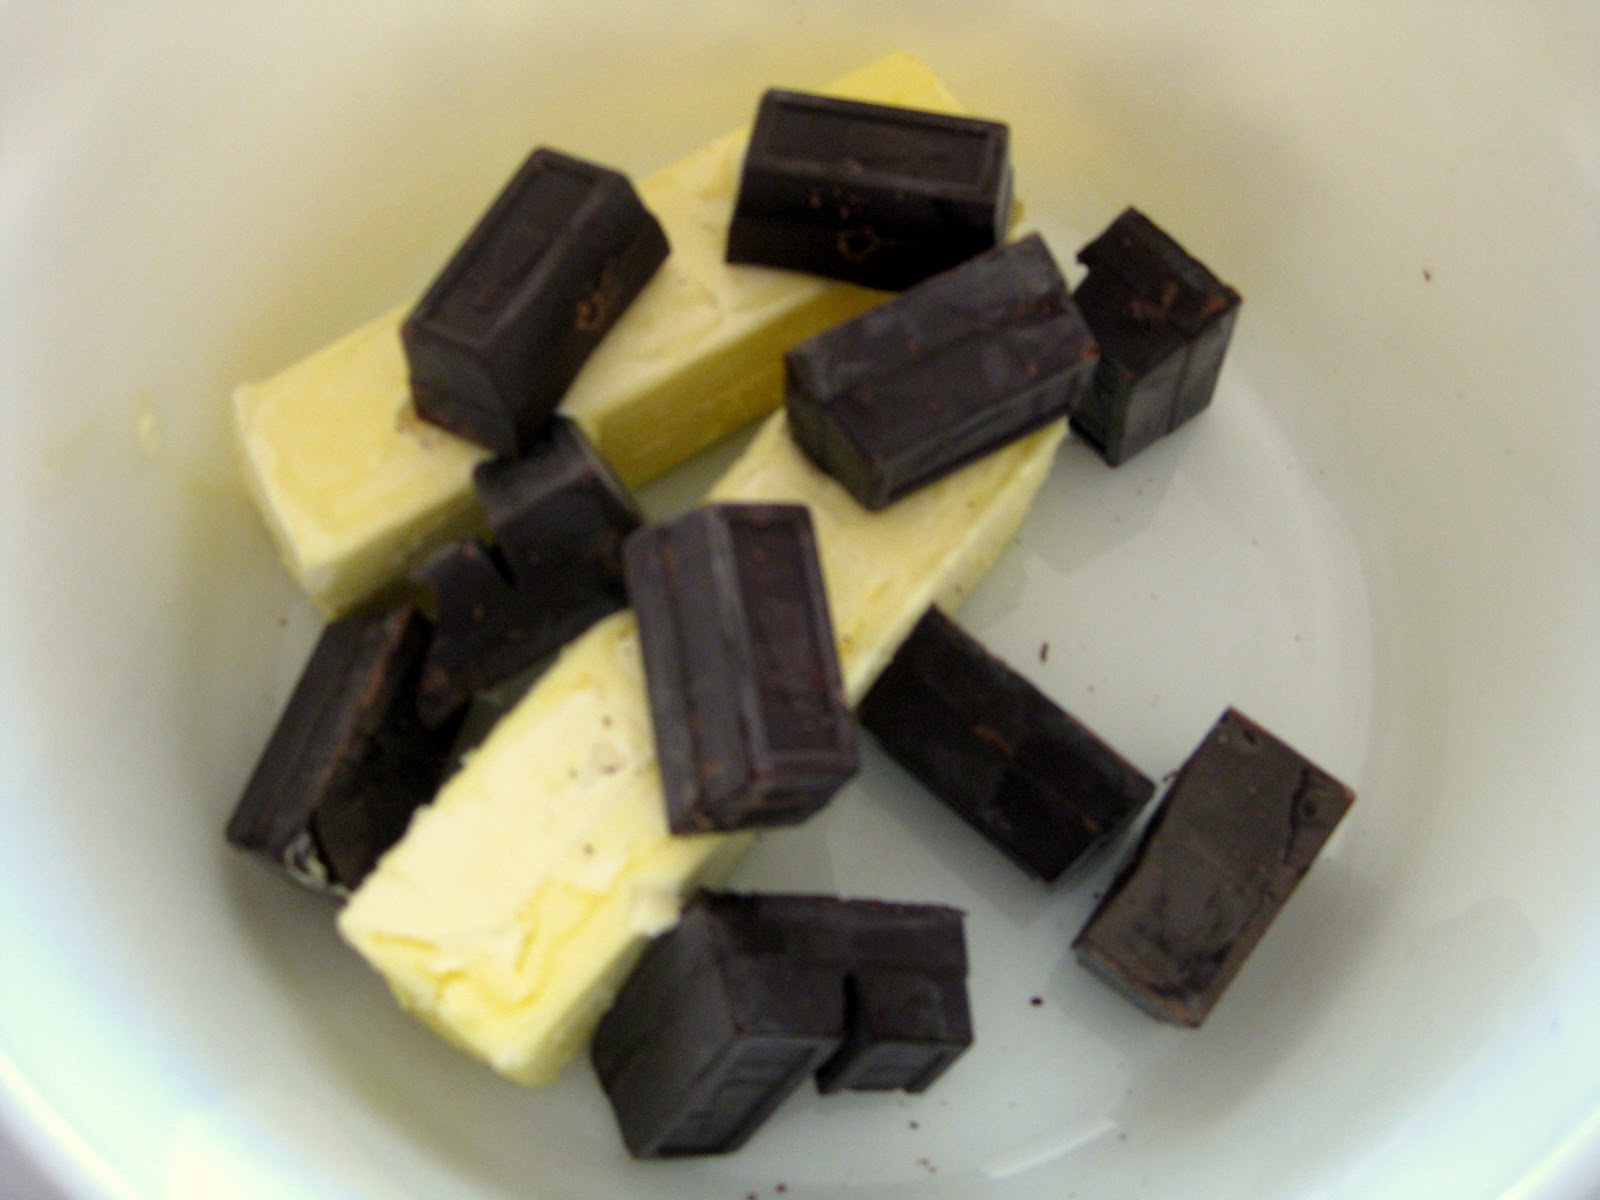
1 cup (2 sticks) margarine
4 oz. (squares) unsweetened chocolate
1 1/2 cups sugar
3 eggs, beaten
1 tsp. peppermint extract
1 cup flour

Preheat oven to 350 degrees (325 degrees if you're using a dark coated or glass pan).  Melt the chocolate and butter on HIGH in the microwave for 2 1/2 minutes or until almost melted.  Stir well.


Add sugar, eggs, and peppermint extract.  Mix in by hand.


Add the flour last and mix only until combined.  Pour into a well-greased 9x13" baking pan.


Bake for 20 minutes or until toothpick comes out with moist crumbs attached.   Let cool completely.

In the meantime, make the
Peppermint Buttercream:

6 T. butter, softened
3 cups powdered sugar, sifted.
3 T. milk
2 tsp. peppermint extract
2-3 candy canes (optional)

Combine all ingredients and mix well using an electric mixer or food processor.  Spread evenly over cooled brownies.


If using the candy canes, unwrap them, put in a ziptop bag, and pound into crumbs with a hammer or meat mallet.  Sprinkle evenly over the frosting.


Glaze:

Melt 2 squares unsweetened chocolate with 2 T. butter in the microwave for about 30 seconds.  Use a fork to decoratively glaze the brownies, letting some of the frosting peek through.  Refrigerate until chocolate hardens.  Cut brownies into squares or fingers and serve at cool room temperature for best flavor.  Store in an airtight, covered container in the refrigerator.


Saturday, December 18, 2010

Toffee Heaven

A traditional treat for our family at Christmas is this delicious Heath-like toffee recipe that both my mother and my husband's mother used to make.


Buttercrunch
(click here to print recipe)

1 1/2 cups butter (3 sticks--do not substitute margarine!)
2 cups sugar
1/2 cup water
dash salt

12 oz. pkg. chocolate chips (I like Ghiradelli)
1 cup sliced almonds, toasted

First, this is not a recipe to attempt when you will be distracted.  Trust me, I know.  It needs near constant attention and the bubbling liquid can burn you if you aren't careful!

Butter a half sheet pan (about 13x18") generously.  You can use a smaller pan (ex: 9x13") if you like your toffee thicker.  Just make sure whatever pan you use has sides, i.e, not a flat cookie sheet!

Place butter, sugar, water, and salt in a heavy saucepan or dutch oven.  I used my enameled cast iron pot that holds the heat well, but any good, heavy saucepan will work.


Bring to a boil, then clip candy thermometer to side of pan and turn heat down to medium.  Stir occasionally.  Use your candy thermometer to determine when it reaches 300 degrees (hard crack stage).  When it's getting close to finished, it is about the color of peanut butter.


Continue to boil and stir constantly, until it reaches a deep caramel color.


Immediately remove from heat and pour onto prepared sheet pan.  Use a long-handled spatula to spread the candy out thin. 


Allow a couple of minutes for the candy to set up, then sprinkle the chocolate chips over top.  The heat of the candy will melt the chocolate.  After giving the chips a few minutes to melt, spread out the chocolate and sprinkle with almonds.


Cool the candy for about 30 minutes, then transfer to refrigerator for another 30 minutes or until the chocolate sets.  Once it's completely cooled, use a metal spatula to lift the candy sheet and break it into shards.   Store in refrigerator.

Friday, December 17, 2010

Countdown to Christmas -- Razzle Dazzled & Frazzled

I used to be done with my Christmas shopping by Thanksgiving and could then concentrate for almost a month on decorating and  making the Christmas treats we enjoy eating and sharing with others.  That was when I was a stay-at-home mom.  Now that I work about 25 hours a week (and my kids have a lot of activities, social and otherwise), it seems that I'm always scurrying to get things done.  Oh, and did I mention that I'm an Accountant and the busiest time of the year is coming up in January ?!


This year, I'm even more behind than usual.   I just came back from  a five-day trip to Michigan (where it was very cold and snowy).


We moved my mom into a senior apartment.  It was actually kind of sentimental to spend some time with my mom and my siblings alone, without our own families there.  We even put up a Christmas tree and decorations, which really made Mom's new digs feel homey.


So today, I actually had some time to BREATHE; I added some razzle dazzle and finished decorating the mantel (finally).  My theme: White as Snow (reminds me of what Jesus did for me):


Vintage frame and bottle brush wreath


JOY reminds me: Jesus Others Yourself
Light of the World
King of Kings

Reindeer from Dollar Tree
I also have been planning what goodies I want to make.  I spent 2 hours (yep) looking for my son's favorite recipe--Pecan Pie Bars--that I made over Thanksgiving.  I finally was able to locate it online since my "filing system" these days includes a lot of laundry baskets and plastic bins!


I plan to feature a favorite treat each day for the next several days, so check back!

Saturday, December 4, 2010

Decking the Halls

I have been Christmas decorating little by little this week.  I started on Sunday afternoon in anticipation of The Lettered Cottage's Mantel Linky Party.  Let's just say, I was a no-show for that one.  My post would have to be titled Mental Mantel, because I cannot get it the way I want and it's driving me crazy!

Then I saw the Christmas Vignette party at Southern Hospitality.  Probably easier for me since I have favorite decorations that I can showcase

Case in point is this metal three-tiered stand I have on my bedroom dresser.


This stand displays some of my most treasured and meaningful decorations.  The three little angel bells in the middle were my late mother-in-law's.  They are sweet, delicate, and honest-to-goodness vintage (Nesco).  The expressions on their faces are just...heavenly.


The bottom tier displays a hand-tatted doily made by my husband's grandmother.  The gold pocket watch was my grandfather's.  I had the little gold filagree frame and used a fragment from an old Christmas card to add a little color.


The top tier has a newer resin Christmas tree to add a little silvery sparkle.


I love to decorate my dining room.  It's the least-used room (and neatest--HA!) in the house but I just love the paint color:  Palladian Blue by Benjamin Moore.  It is so soft and pretty and coordinates well with my antiqued white sideboard and fruitwood finished dining table and chairs.

This year, I found this little fellow at HomeGoods for about 10 bucks


and decided to put him under a cloche so that it looked like a snowglobe.


This snowman echoes the reproduction Victorian advertising sign on the sideboard:


My color scheme in the dining room vignette is blue, charcoal gray, and cream.  I have a bird theme, including a vintage bird cage and three white and grey birds from Dollar Tree.  Two are elevated on an ornate charcoal tray


and one is in the bird cage.  (Hmm, I think I need to add a bit of cascading ribbon.)


I also included a nest with eggs and a pinecone tree to lend texture and an organic feel.  The shimmery snowflakes are from Dollar Tree.  The plates were purchased at Walmart on clearance a couple of years ago.


Finally, I have a strange little alcove near my powder room that is very narrow.  I have a metal baker's rack that I use to stage some romantic accessories:


I found this lovely angel a couple of years ago.  It seems that I have a penchant for birds and angels!  Maybe it's a wing thing?!  HA!


Must be, because I braved the bitter cold in Canton, Texas, last year to score 50% off of this gorgeous piece to literally deck my hall.  She is dusted in mica which gives her a vintage look.


I'm off to tackle the mantel!  Merry Christmas!

Thursday, December 2, 2010

$10 Gift Ideas for the Cooks on Your List

I love to cook and bake.  It's not only a hobby but it is a way to bless my family, express my creativity, and relieve stress.

Here are some of my favorite products for about $10 that you might consider for the baker or cook on your holiday gift list:

Penzey's Spices


Penzey's Spices has the freshest and most flavorful spices I have ever used.  This company began in Wisconsin, but they have many locations nationwide now.  They also have a booming mail-order business.  Any of the mini gift boxes above would be a great stocking stuffer.

If you prefer larger bottles of herbs and spices, I am particularly partial to their Vietnamese Extra Fancy Cinnamon (so fragrant!) and some of their spice blends for grilling meats (Bicentennial Rub and Galena Street Rib & Chicken Rub are two of my faves).

Microplane Grater


The Microplane grater is a rasp-like device that makes short work of zesting lemons and oranges.  It is also my tool of choice for grating fresh ginger and smaller quantities of parmesan reggiano cheese.  It is razor sharp and comes in different styles for fine, medium, and coarse grating.


Silicone Basting Brush and/or Spatula


One of the best kitchen gadget introductions from a cleanliness standpoint is the silicone basting brush.  I used to hate when the bristles from traditional basting or pastry brushes would shed onto my food or get stuck together like glue.  It all seemed so un-hygenic.  Silicone basting brushes don't shed, are heat resistant, and can be cleaned in the dishwasher.  Love that!  The bristles come in different widths (finer for pastries, thicker for basting), and some versions even have interchangeable heads for both uses.

Similarly, the silicone spatula or spoonula is one of those items that you can never have enough of.  I love the spoonula because the design makes it easier to scrape and transfer batter from the mixing bowl to the baking pan.  And because it's heat resistant, you can also use it when cooking (an example: scrambled eggs).
Magnetic Measuring Spoons

I LOVE these measuring spoons!  They are magnetic so you can either keep them neatly nested in a drawer or stick them to a metal surface.  They are easily separated so you don't have to fumble with (or wash!) the whole set at once. They are two-sided: there is a traditional round end and an elongated oval end which is easier to get into those little spice cans.  Ingenious!  I actually scored my set at TJ Maxx for less than $5!
Garlic Press

This might cost a little more than $10, but it is oh, so worth it.  The bottled and dried versions of garlic have their uses, but for most applications, nothing beats the taste and aroma of fresh garlic.
Pampered Chef garlic press
I have carpal tunnel in my right hand (occupational hazard) and find it hard to squeeze most garlic presses.  I don't have any trouble with the Pampered Chef version.   It is about $16, but you can often find them new on Ebay for less.

Any of these items would be a fine gift for the cook on your list!  Maybe they'll thank you with a nice dinner or dessert!  What are some of YOUR favorite kitchen gadgets?

Wednesday, December 1, 2010

Christmas Sweets - Cha-Cha-Cha Cookies

I have dubbed these Cha-Cha-Cha Cookies because they hit the trifecta of cookie-dom:  Chocolate,  Cherries,  and Chewiness.  These put a new spin on chocolate chip oatmeal cookies and would be great on any holiday cookie platter.


Cha-Cha-Cha Cookies
aka Chocolate-Chunk Oatmeal Cookies with Pecans & Dried Cherries
Adapted from Cooks Illustrated magazine
(click here to print recipe)

1 1/4 cup flour
3/4 tsp. baking powder
1/2 tsp. baking soda
1/2 tsp. salt

1 1/2 sticks (12 T.) butter, softened (do not use margarine)
1 1/4 cups light or dark brown sugar (dark gives a deeper flavor)
1 large egg

1 1/4 cups oatmeal (regular or quick oats but NOT instant)
1 cup dried cherries
1 cup pecans, coarsely chopped
1 cup semi-sweet or bittersweet chocolate chips (I prefer Ghiradelli)

Preheat oven to 350 degrees.  Put the pecans in a small baking pan and toast for 5-10 minutes (set the timer so they won't burn) or until browned.

Measure dry ingredients (flour, baking powder, soda, and salt) and whisk to combine. 


Cream butter and brown sugar together until light.  Add egg.  Beat well.  Add dry ingredients and mix just until combined.  Add cherries, chocolate chips, pecans, and oatmeal and stir in by hand.


Use a cookie scoop (I used the 1 1/4 oz. size) or two tablespoons to drop the cookies on an ungreased baking sheet.  I put 12 on each sheet pan.  Flatten slightly with your hand. 


Bake for 10-11 minutes or until lightly browned.  If they crack slightly, the cracks should still look a little wet and underdone.  Don't overbake or they won't be chewy.

Cool on pan for 5 minutes, then transfer to a cooling rack.  Enjoy with a tall glass of ice cold milk.  Makes about 2 dozen.